


I know how it feels when you first open that dash cam box. You see the long black wire and the plug that goes into your car’s cigarette lighter.
It looks easy at first. But then you realize that wire is going to hang right in front of your face.
It looks messy and it takes up the only spot you have to charge your phone.
I spent a lot of time tucked under my own car’s dashboard to figure this out.
I want to show you how to do it the right way.
Hardwiring sounds like a big, scary word, but it just means connecting the camera to your car’s power box.
Once you do it, the wires are gone and the camera works all by itself.
Why You Should Hardwire Your Dash Cam
When I first got my camera, I just plugged it in. Every time I got out of the car, I had to unplug it so it wouldn’t drain my battery.
That was a pain. Hardwiring lets the camera stay on even when the engine is off. This is called parking mode.
It watches your car while you are in the store or sleeping. It also makes your car look much cleaner.
You won’t have wires swinging around while you turn corners. It feels good to have a setup that looks like it came with the car from the factory.
Tools You Need to Get Started
Before we touch the car, we need to gather a few things. You don’t need fancy tools.
First, you need a hardwire kit. Make sure it matches your camera brand. Most kits come with a long cable and a small black box that protects your car battery.
You will also need a fuse tap. This is a small part that plugs into your car’s fuse box.
Grab a pair of pliers and a screwdriver too. A plastic trim tool is very helpful. It helps you tuck wires without scratching your car’s paint or plastic.
I always keep a flashlight handy because it gets dark under the dash.
Finding Your Car Fuse Box
Every car has a fuse box inside the cabin. It is usually hidden near the driver’s knees or behind a plastic cover on the side of the dash.
You can find the exact spot in your car’s manual. I remember the first time I looked for mine; I felt like a detective.
Once you find it, take the cover off. You will see a lot of colorful little plugs with numbers on them.
Don’t worry, we aren’t going to mess with the important ones like the engine or the airbags. We are looking for something simple like the radio or the power windows.
Choosing the Right Fuse for Power
This is the part where we choose how the camera gets its juice. You have two choices. Some people want the camera to turn on only when the car is running.
For that, you find a fuse that only has power when the key is turned.
Others want the camera on all the time for parking safety. For that, you need a fuse that always has power.
You can test this by trying to turn on your overhead lights while the car is off. If they work, that fuse has power all the time.
I usually pick the “Radio” fuse or the “Cigarette Lighter” fuse because they are safe to use.
Connecting the Ground Wire
Every electrical circuit needs a way back home. In a car, we call this the ground.
The hardwire kit will have a black wire with a metal ring on the end. You need to find a metal bolt that is touching the actual frame of the car.
Look near the fuse box for a shiny bolt screwed into the metal.
Loosen it just a bit with your wrench. Slide the metal ring under the bolt and tighten it back down.
Make sure it is tight. If this wire is loose, your camera will keep turning off and on, which is very annoying.
Running the Wires Hidden and Safe
Now we get to be a bit sneaky. Start at the top where your camera is mounted behind the rearview mirror.
Tuck the wire into the gap between the roof fabric and the windshield. Use your plastic tool to push it in gently.
Run it toward the side pillar. Be very careful here if your car has airbags in the side pillars.
Always run the wire behind the airbag, never across it. Then, pull it down the side of the door frame and bring it right to the fuse box.
I like to use small zip ties to keep the extra wire from rattling while I drive.
Plugging Everything In and Testing
Now it is time for the big moment. Take your fuse tap and put the new fuse for the camera into the top slot.
Put the original car fuse into the bottom slot. Now, plug that tap into the spot you chose in the fuse box.
Connect the red wire from your kit to the fuse tap. Once everything is plugged in, turn your car key.
Your dash cam should wake up and say hello. If it doesn’t, check that the ground bolt is tight and the fuses are pushed all the way in.
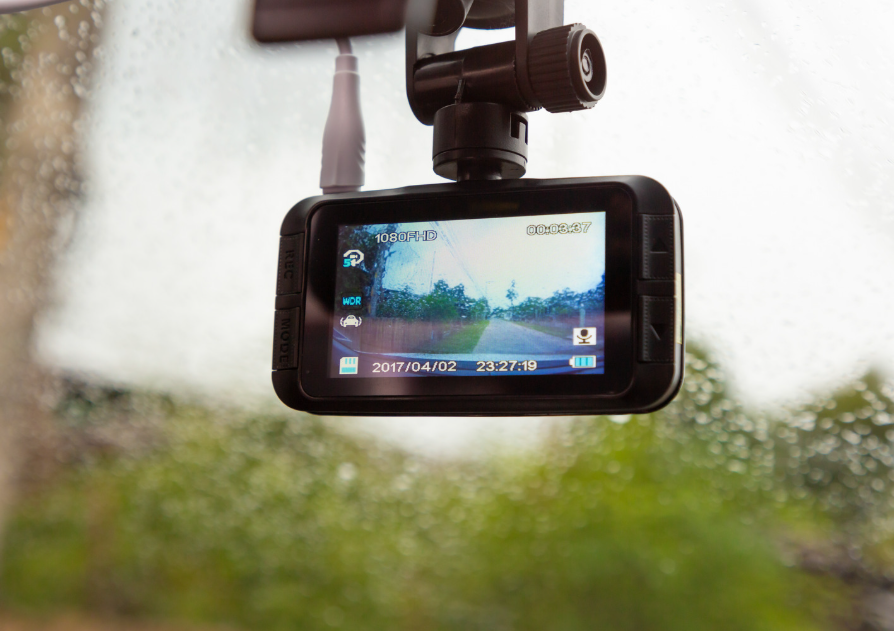
It is a great feeling when you see that little screen light up for the first time.
Setting Up Your Camera Settings
Now that the power is steady, check your camera menu. If you hardwired it for parking mode, make sure that setting is turned on.
Most kits have a safety feature that stops the camera if your car battery gets too low.
You want to set this so you can still start your car in the morning. I usually set mine to 12 volts.
This way, I get a few hours of recording while parked, but my car always starts right up. Take a look at your memory card too.
A hardwired camera records more, so a bigger card is always a good idea.
To sum up,
hardwiring your dash cam is a great way to keep your car safe and look professional. It takes a little bit of time, but the clean look and the extra safety are worth it.
I hope this helps you get your camera set up without any stress.